


Who's Crushing on MAFS 2024?
Posted by Piksters Team on 30th Jan 2024
DENTAL PROFESSIONALS - CLICK HERE to shop at pikstersdental.com


Posted by Piksters Team on 30th Jan 2024

Posted by Piksters Team on 24th Oct 2023

Posted by Piksters Team on 12th Oct 2023
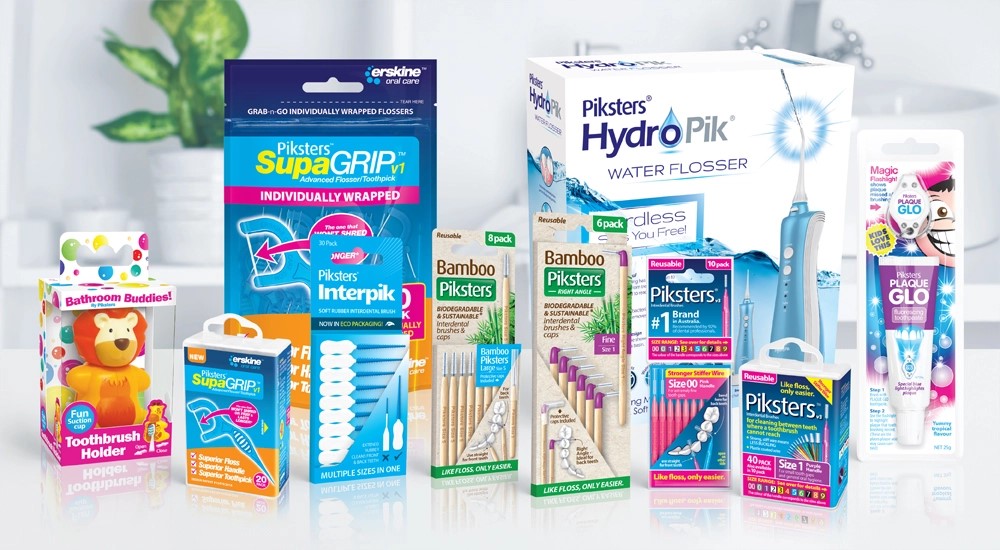
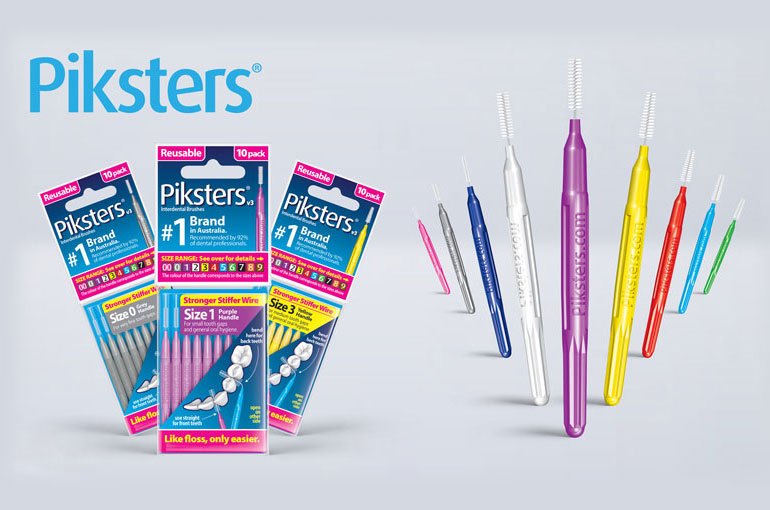
Professional Quality Oral Care Products for Everyone
Designed by a dentist. Piksters® range of products are recommended, and used by dental professionals, and are perfect for you and your family.